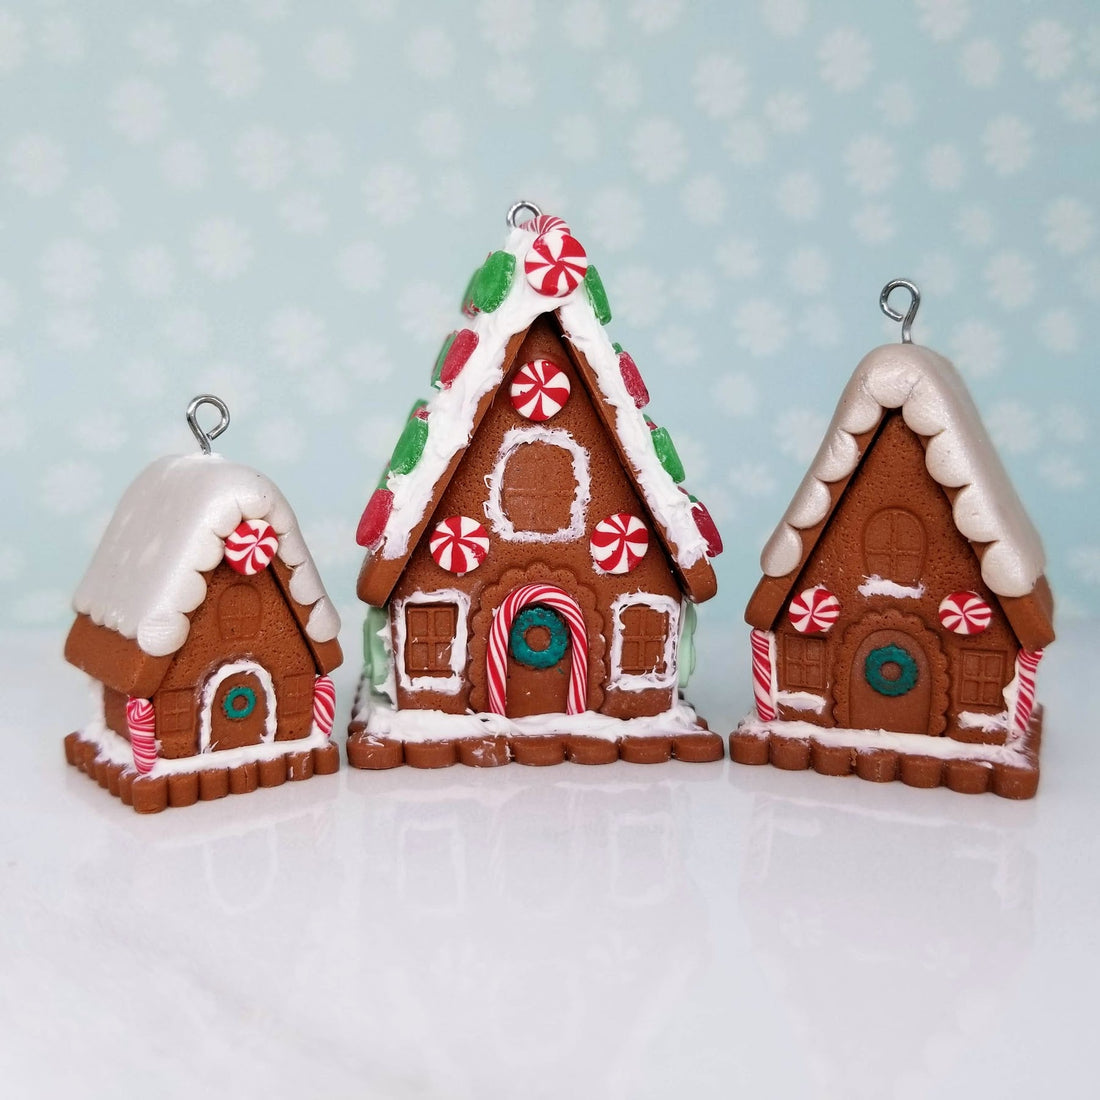
Assembling The 3D Gingerbread House
Gingerbread House assembly is easiest in several bakes:
1. Texture your clay to resemble gingerbread (sandpaper and toothbrushes are great tools for this!)
2. Cut your pieces (all but the Snow piece) on a tile. Make sure you cut two roof and side pieces. Leave them on the tile to bake. This will help to ensure they don't warp before curing.
3. After your pieces are cool, remove them from your tile and assemble with just a couple dots of superglue. (Please see the note below on superglue.)
4. If you're going to be adding an eye-pin to the top of your house to make ornaments or earrings, you can do this before or after adding the snow to the roof of your house. Make sure you kink your wire or add bulk to it under the roof so the wire doesn't pull out.
5. Add any details to your house that you may want:
- Use the snow cutter to add a layer of fluffy snow to the roof
- Mix white clay into liquid clay to create a frosting that can be applied to the roof or ground as snow and/or the joints of your house.
- Add candy or peppermint details.
6. Bake your house a second time.
7. Marvel at your adorable gingerbread creation!
A few things to remember:
- When adding lots of details and frosting, you can always bake your house to cure your details in place. This will ensure you don't smudge or smash anything as you handle your house while adding more details.
- Baking super glue may release toxic fumes, but it's really only a concern if you're baking a lot of glue. As always, do not bake food in the oven at the same time your clay pieces are curing. These tiny Gingerbread Houses don't require much glue so the main concern is your glue bonds deteriorating with heat. Unless you're using superglue with a very high heat tolerance, your glue bonds will weaken in the oven. Consider adding a few clay details to the joints outside (frosting!) or inside the house to keep them strong after your second bake.
- If you'd like to avoid using superglue all together, your cured house pieces may be assembled with soft clay and a little bit of bakeable adhesive or liquid clay.
- You can always choose to decorate your house pieces before their first bake! It may be easier for you to decorate them while they're on a flat tile. If you're going to add mica powder to color your clay to make it look baked, you'll need to do that before you bake your pieces.
