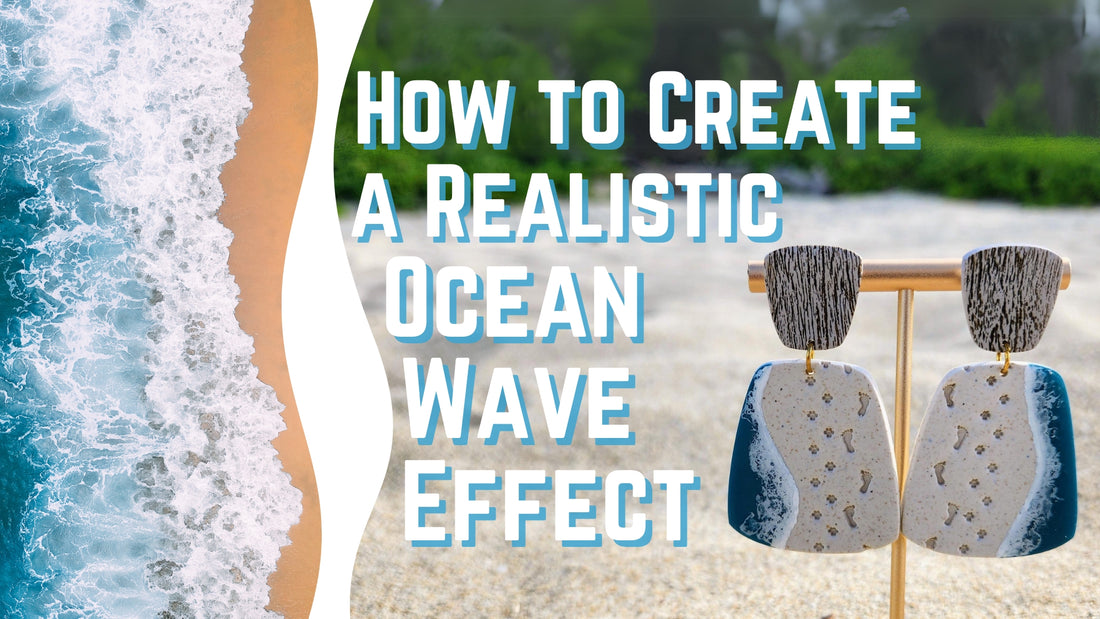
How to Make Realistic Foamy Waves on Polymer Clay: Step-by-Step Tutorial
Hey there, crafty friends! Ever wished you could make those foamy, dreamy waves on your polymer clay projects? Well, you're in luck! In this tutorial, we're diving into a technique that'll transform your clay creations. Let's get started!
We recently released a reel showcasing our footprints clay stamps. We made some fun beachy polymer clay earrings, complete with footprints in the sand and a gorgeous shoreline. The highlight? Realistic foamy waves created using white alcohol ink. The response was amazing, but the reel was too quick to show the full process. So, I made a detailed, slower tutorial video to help you nail this technique!
I played around with various methods to perfect that foamy wave look. Here’s a quick rundown of how I achieved it:
- Make Earrings with Blue Area for Water: We used Cernit Translucent clays to create the water element of our earrings, giving it a bit of depth.
- Prepare Your Base: After curing your clay, lightly coat it with rubbing alcohol.
- Apply White Alcohol Ink: Carefully apply white alcohol ink along the waterline. We used a needle and syringe for precision application. When you drip the white alcohol ink onto the rubbing alcohol, you'll see it bloom and crackle as it reacts with the alcohol, creating a beautiful foamy effect.
- Carefully Remove the Remaining Rubbing Alcohol: You'll need to add fresh rubbing alcohol to repeat the process. The rubbing alcohol evaporates quickly, so the white alcohol ink won't react if the alcohol isn't fresh.
- Repeat for Depth: Repeat the process a few times to get the desired level of foaminess.
- Seal with Glossy Varnish: Finally, seal your waves with UV resin or your favorite glossy varnish to add shine and durability.
For those interested in the materials, the alcohol ink I used can be found on Amazon. It’s a medium-quality, affordable set that works perfectly for this technique. These are the 32 gauge needles, and you can use them with these craft syringes.
To see the technique in action, check out the tutorial video below. It's packed with tips and tricks to ensure you get the best results.
So, what do you think about this technique? Give it a try and let us know how it turns out! Happy crafting!
