
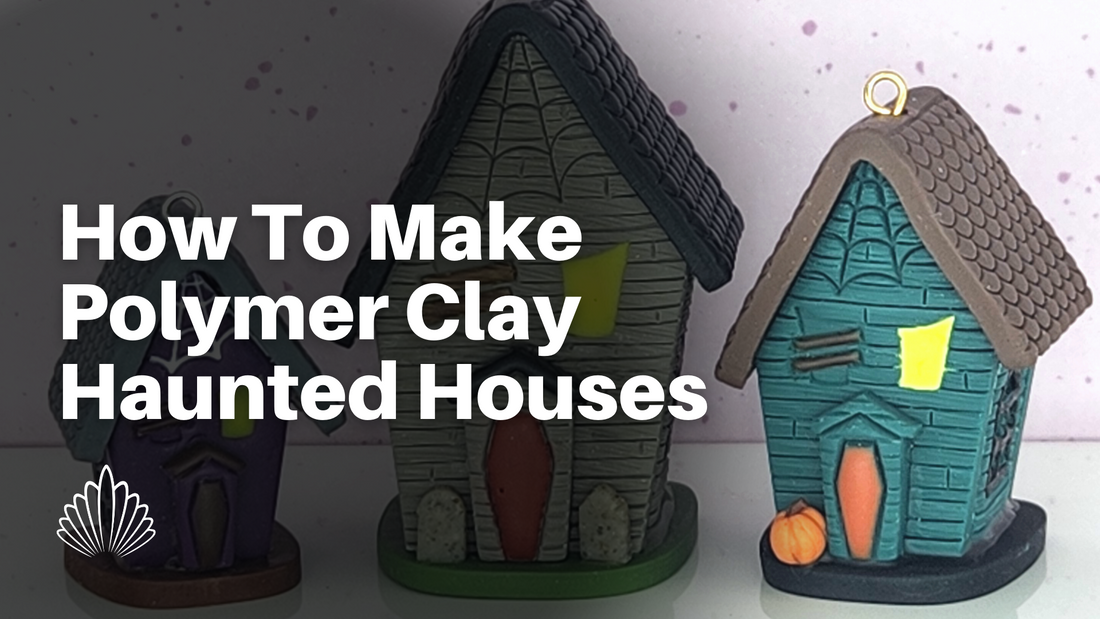
Assembling the 3D Haunted Houses
The Haunted House cutter set can be found here.
Haunted House assembly is easiest in several bakes:
1. Place your wall and ground clay slab on a tile and cut out the front, back, sides, entryway/front door, and bottom. If you would like to add details (paint, liquid clay, gravestones, ghosts, pumpkins, etc.) it may be easiest to add details to the walls of the house now, before you bake, rather than after it's assembled. Leave the walls on the tile to bake. This will help to ensure they don't warp before curing.
2. Bake your clay as specified by the clay manufacturer. Remember, if there's any doubt about your pieces being fully cured, longer is always safer. You cannot burn polymer clay by baking too long, but under-cured clay will be brittle.
3. After your pieces are cool, remove them from your tile and assemble with a little bit of superglue. We found it easiest to attach the sides to the front and then add the back to the sides. Make sure you attach the correct sides, as one is longer than the other. After that, take the whole thing and glue it to the bottom piece. We used high heat tolerance superglue, but it's not strictly necessary as all of the clay joints will be reinforced with clay.
4. Add liquid clay, bakeable adhesive, or solid clay to the joints on the inside of your house to reinforce the joints. Most super glue bonds will weaken in the oven, so you really need to add some sort of clay to make sure your bonds are solid. We added a little bit of liquid clay to each corner. It dripped down the joints and eventually settled at the bottom, so that all of the joints on the inside of the house were reinforced with liquid clay. Some of the liquid clay may show from the outside at the bottom, so use clear liquid clay or a color you don't mind showing.
5. Cut out your roof piece. make sure you're using well-conditioned, soft clay. Firmer clay may crack when you attempt to bend the roof.
6. If you're going to be adding an eye-pin to the top of your house to make ornaments or earrings, do this next. Make sure you kink or loop your wire and add clay to it under the roof, so the wire doesn't pull out.
7. Bend the roof slightly and observe which side of the roof is longer. These haunted houses aren't symmetrical. One wall is taller than the other, so you'll need to make sure you're placing the roof correctly, as they're not the same length on the left and right sides. Use bakeable adhesive to adhere the roof to the top of your house.
8. If you would like to add more details, do that now, and then bake your house a second time to cure the roof. Alternatively, you can bake your roof on, add details and bake a third time. Whatever is easiest for you!
A few things to remember:
- Remember that polymer clay will never burn, as long as it's baked at the correct temperature. When in doubt, bake your creations several times. There's no harm in baking three or four times as you add details. This ensures that you won't crush or smudge any details or the roof as you work with your tiny haunted houses.
- Baking super glue may release toxic fumes, but it's really only a concern if you're baking a lot of glue. As always, do not bake food in the oven at the same time your clay pieces are curing. These tiny haunted houses don't require much glue, so the main concern is your glue bonds deteriorating with heat. Super glue bonds will weaken in the oven. Adding liquid clay, solid clay, or bakeable adhesive to the joints on the inside of your house will ensure that your clay pieces will stay together, and your birdhouses will be very durable.
- If you'd like to avoid using superglue all together, make sure you're using firm clay that won't warp as you work with it. Your uncured house pieces may be assembled with a little bit of bakeable adhesive or liquid clay, or they may just be sticky enough to not need adhesive at all. You'll just have to play an experiment to find out what works best for you.
- You can choose to decorate your house pieces before their first bake, in the middle, or after its fully assembled. It may be easiest for you to decorate them while they're flat. Please be aware that some paint pen acrylic ink colors change in the oven.