
How To Use Polymer Clay Texture Sheets
Are you ready to add a touch of whimsy and elegance to your jewelry collection? With our polymer clay texture sheets and a dash of creativity, you can craft beautiful earrings that are as unique as you are. In this step-by-step guide, we'll walk you through the process of using texture sheets to make eye-catching earrings that will surely turn heads.
Step 1: Gather Your Materials
Before you begin, make sure you have everything you need:
- Polymer clay of your choice
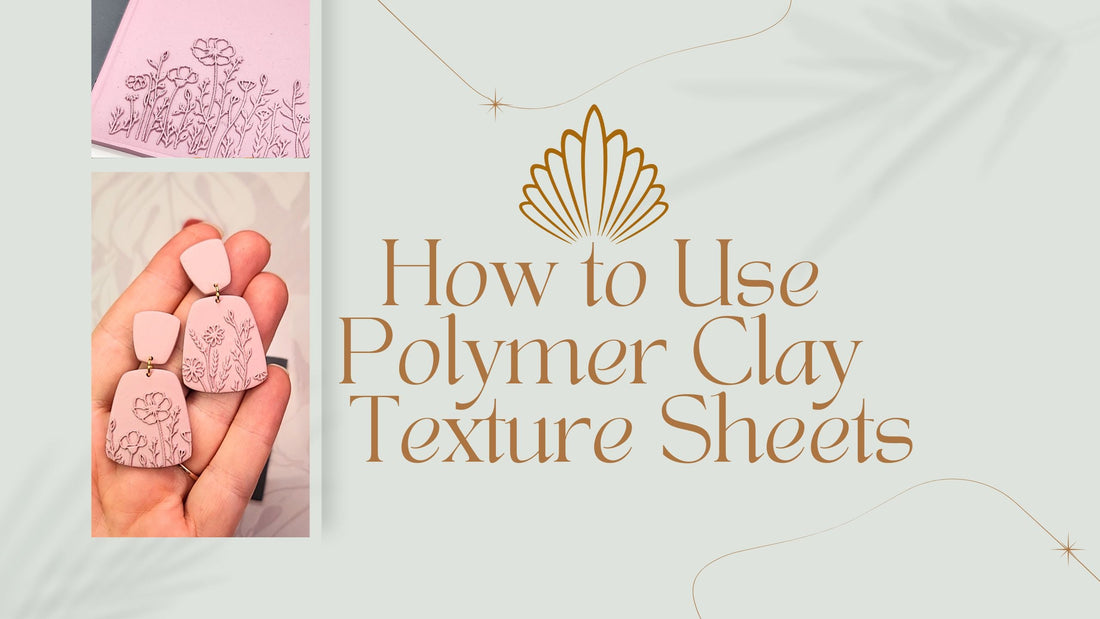
- Texture sheet (like our delightful Wildflower design)
- Thickness guides (2.5 mm and 3.5 mm)
- Roller
- Cutters
- Parchment paper
- Earring posts and backs
- Optional: Earring Post Embedder Kit
- Drill
- Jump rings
- Oven for baking
Step 2: Roll Out Your Clay
Start by placing the 2.5 mm thickness guides on either side of your clay. Use the roller to achieve the desired thickness by rolling until the roller runs into the guides on both sides.
Step 3: Texture Time
Replace the 2.5 mm guides with the 3.5 mm ones. This ensures an even texture. Position the roller about an inch into the texture sheet and press down firmly before rolling forward or backward. This anchors the texture into the clay. Continue rolling until the roller meets the thickness guides on both sides all over the texture sheet.
Step 4: Remove the Texture Sheet
Carefully peel off the texture sheet from the clay. If the clay sticks, consider using firmer clay to prevent any issues with removal.
If you're working with very soft clay that tends to stick in the details of texture sheets, you can use a technique called leeching to make it firmer. Roll your clay into a flat slab and place it between two pieces of clean blank printer paper. Let it sit for a few hours. You'll notice that the paper will leech out excess moisture from the clay, leaving you with firmer, less sticky clay that's easier to work with.
Step 5: Cut Out Your Earring Shapes
Use your favorite cutters to create the desired design. Get creative with shapes and sizes to suit your style.
Step 6: Bake and Cure
Place your earrings on parchment paper to avoid shiny spots. Bake according to the clay manufacturer's instructions. Once baked, allow them to cool completely.
Step 7: Add Earring Posts
Using your favorite embedding method, attach earring posts to the studs. We used the Earring Embedder Kit to add a professional finish to our earrings. Check out the full instructions for the embedding tool here.
Step 8: Drill and Assemble
Drill holes for jump rings. Choose your desired jump rings and assemble your earrings
Step 9: Admire Your Handiwork
Congratulations! You've crafted stunning polymer clay earrings using texture sheets. Admire your unique creations and get ready to showcase them with pride.
Creating polymer clay earrings is not only a fun and creative process but also a great way to express your individual style. Experiment with different textures, colors, and shapes to unleash your creativity and make jewelry that is truly one-of-a-kind.
Ready to get started? Explore our collection of texture tools and let your imagination run wild. Happy crafting!